Now if I’m going to tell you how the song says: ♪ ♫ If it’s a matter of confessing ♪ ♫ I am always trying to eat healthier and the truth is that sometimes it is difficult for me, I always crave foods that are not as healthy, so instead of preparing the milanesas as traditionally done in a sea of oil, prepare them at oven, but do not think it was 100% my idea, I tell you that the day I went to the supermarket I found an excellent offer on Kraft products, if I bought the crumbled cheese, I got free Kraft Fresh Take, which is a mixture of cheese and breadcrumbs (delicious) in the packaging of the product you see a delicious chicken prepared in the oven, so I decided that I would prepare the Milanese that I like so much, but without adding a drop of oil, ummm they were delicious and for that the companion was in accordance with the healthy of the recipe, I decided to prepare roasted zucchini, super simple and extremely delicious, here I share the list of ingredients and preparation.
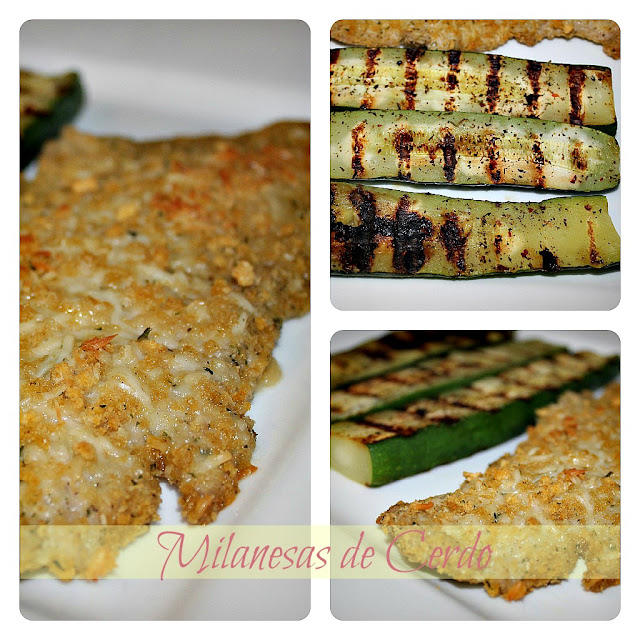
Pork and Roasted Zucchini Milanesas
- Makes 4 Servings
- Price per serving $ 1.85
Ingredients
- 4 pork milanesas
- 1 package of Kraft Fresh Take Italian Parmesan
- 4 zucchini cut into 3 pieces each
- 1 pinch of Italian seasoning and salt
Preparation
- Pre-heat the oven to 350 degrees.
- Meanwhile, open the package of Kraft Fresh Take Italian Parmesan cheese and breadcrumbs and mix the cheese with the bread, since they are well mixed, place a milanesa inside the bag, adjust the bag so that the milanesa is covered in cheese and bread ground, since it is well covered, remove it and place it on a sheet for the oven, repeat the procedure until all are finished, place in the oven and cook for 20 to 25 minutes depending on the thickness of the Milanese.
- Now heat your grill, sprinkle a little salt and Italian seasoning on the zucchini, place them on the grill and cook for about 3 minutes on each side.
- Serve the milanesa accompanied by the zucchini.
Enjoy your meal!
Clarification: I did not receive any compensation for talking about this product, simply as a consumer I was fascinated by the product and wanted to share it with you.